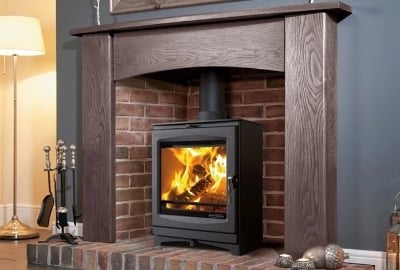
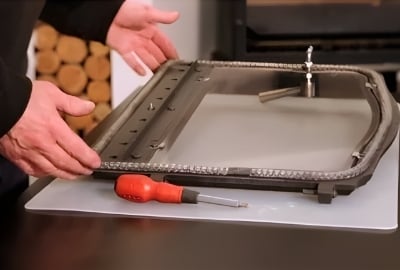
A clear stove window is one of the features that makes a wood burner so enjoyable, but the glass also forms part of the stove door assembly. If it becomes cracked, chipped or loose, it needs attention before the appliance is used again. Replacing stove glass is a job many competent DIYers can tackle, provided the stove is completely cold and the manufacturer’s instructions are followed. The details vary between models, so always treat your stove manual as the final authority for the type of glass, seal, clips and fitting method required.
Contents
When Does Stove Glass Need Replacing?
Getting the Correct Replacement Stove Glass
What You Will Need Before You Start
How to Replace Stove Glass Step by Step
Replacing the Glass Seal or Gasket
Final Checks and Common Mistakes to Avoid
When does stove glass need replacing?
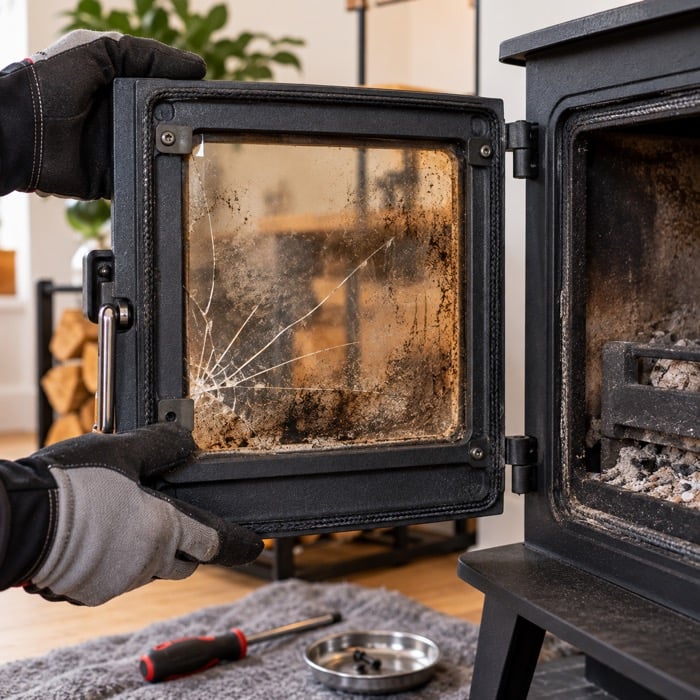
Sooty or cloudy glass does not automatically mean the pane needs replacing. Deposits can often be cleaned once the stove is cold. Replacement is needed when the glass itself is damaged, particularly if you can see a crack, chip, missing section or other defect that could affect the integrity of the door.
A crack may start small and become worse as the stove repeatedly heats and cools. Do not continue firing a stove with damaged glass. Allow the appliance to cool fully and arrange the correct replacement before using it again.
It is also worth checking why the glass failed. Accidental impact, a log being pushed against the door, overtightened retaining clips, an incorrectly fitted seal or the wrong replacement part can all create problems. Identifying the likely cause can help prevent the new pane being damaged.
Getting the correct replacement stove glass
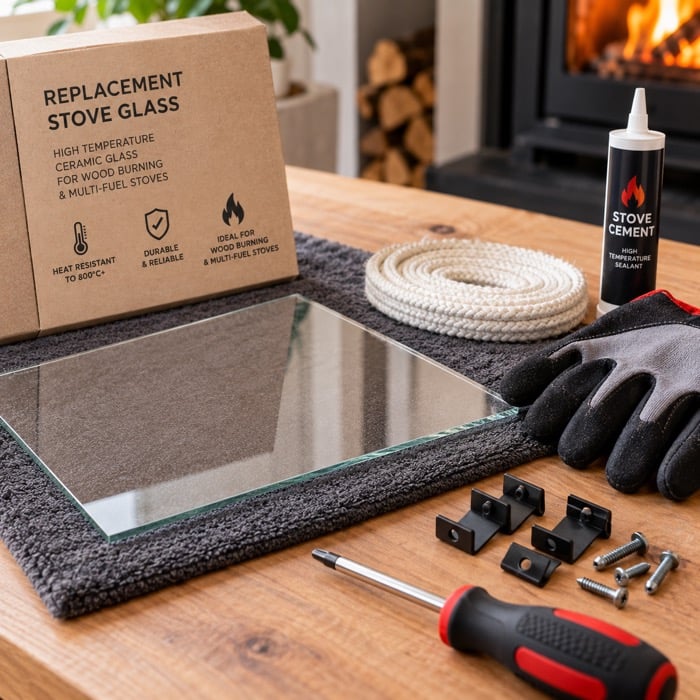
A stove door is exposed to temperatures and thermal cycling that ordinary household glazing is not designed to withstand. Use only the heat-resistant ceramic glass specified as suitable for your stove. Do not substitute ordinary window glass or an unidentified piece of cut glass.
The safest way to identify the replacement is by the stove manufacturer and exact model. Depending on the appliance, the pane may be rectangular, shaped, curved or supplied as a model-specific part. Check the dimensions and shape against the existing glass and, where available, use the part number in the stove manual.
StovesAreUs stocks replacement stove glass and other stove maintenance accessories. If you are unsure which pane fits your stove, confirm the model before ordering rather than relying on appearance alone.
What you will need before you start
Before dismantling the door, read the relevant section of your stove manual. Some designs are easiest to work on with the door removed and laid flat, while others allow the glass to be changed with the door in place. The manual should also show how the retaining clips, screws, washers and seals are arranged.
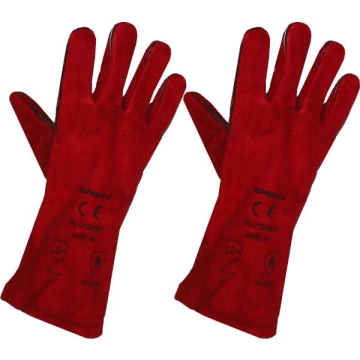
Typical items include the correct replacement glass, protective gloves, a suitable screwdriver or spanner, a soft cloth or padded work surface, a small brush or vacuum for loose debris, and the correct replacement glass gasket or sealing tape if required. Keep a small container nearby for clips and screws so nothing is lost.
If the old pane is broken, take extra care with sharp edges and fragments. Work slowly and avoid placing unnecessary pressure on the remaining glass.




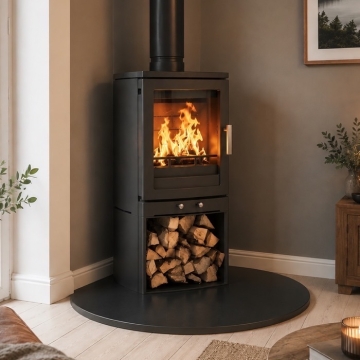
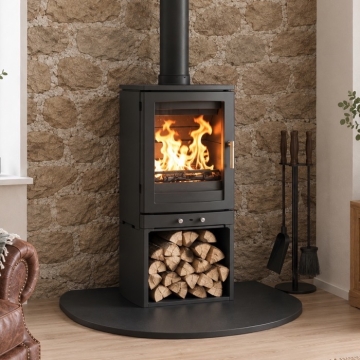
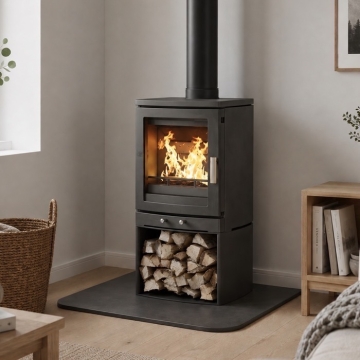
How to replace stove glass step by step
1. Make sure the stove is completely cold. Never work on a warm stove. Remove ash or loose debris around the door if it will make the job cleaner and safer.
2. Protect the work area. If the door is removable, place it on a flat, padded surface with the glass supported. If it remains attached, make sure it cannot swing or move while you work.
3. Record how the glass is fitted. Take a quick photograph before removing anything. Note the position of clips, screws, washers and the existing seal. This is especially useful if several small parts look similar.
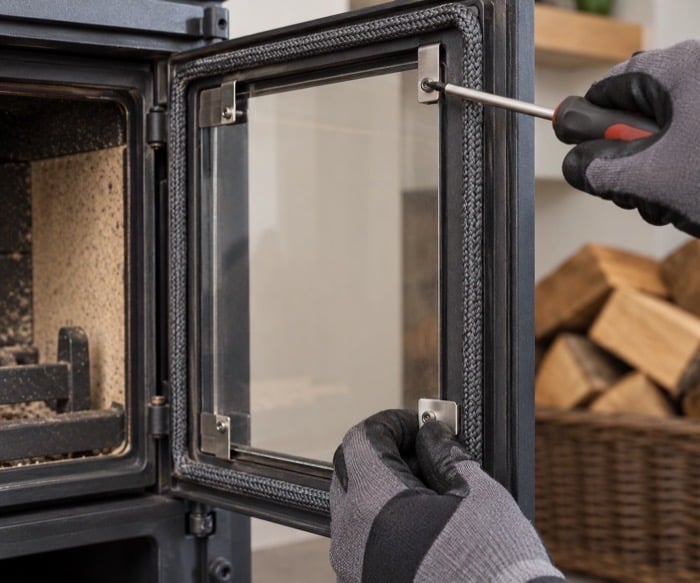
4. Loosen the glass retainers carefully. Undo the clips or retaining screws gradually. Old fixings can be stiff, so avoid excessive force that could damage the door or surrounding components. Follow the sequence in the manufacturer’s instructions where one is specified.
5. Remove the damaged glass. Lift the pane away carefully. If it is broken, collect all fragments and dispose of them safely. Do not scrape sharp glass towards your hands.
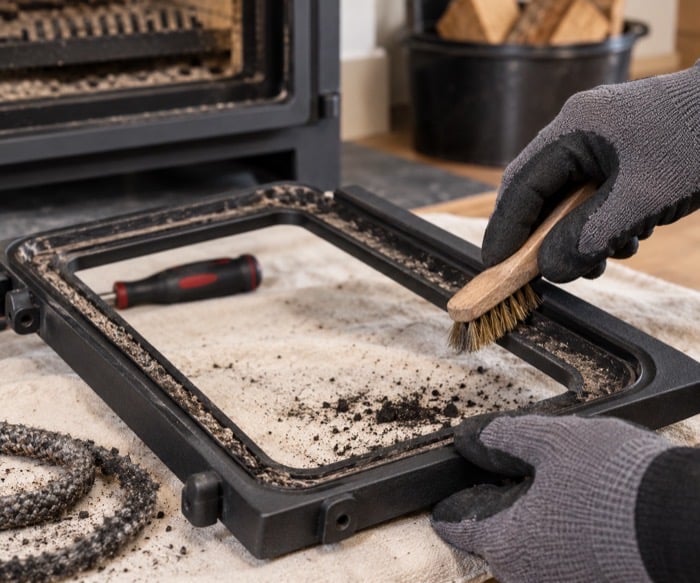
6. Clean the glass seating area. Remove old gasket material, adhesive, soot and loose debris from the channel or seating surface. The new glass and seal need a clean, even surface.
7. Position the new glass. Fit the replacement pane in the correct orientation without forcing it into place. It should sit naturally in the door assembly with the specified gasket or tape between the glass and metal where required.
8. Refit the retainers gently. Replace the clips and screws in their original positions. Tighten only as instructed by the stove manufacturer. The glass should be secure, but overtightening can place stress on the pane and contribute to cracking as the stove heats and expands.
Replacing the glass seal or gasket
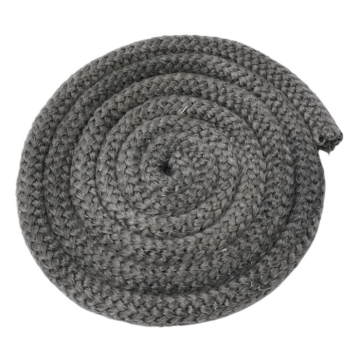
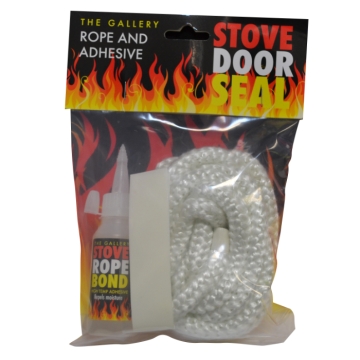
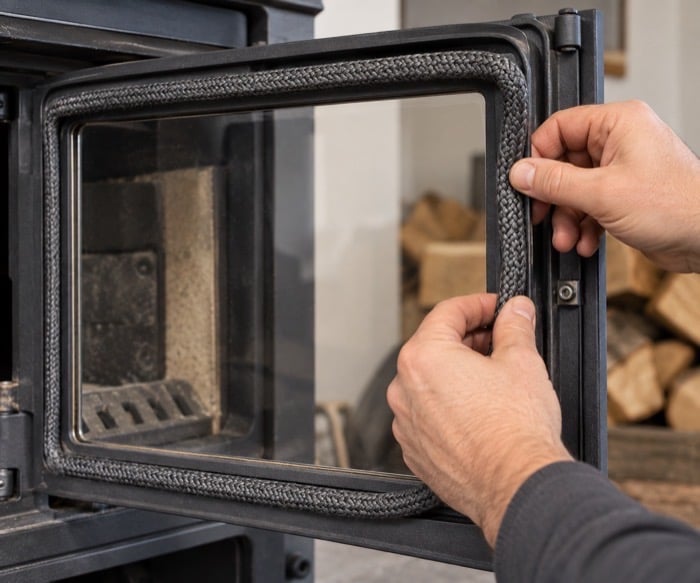
Many stove doors use a heat-resistant gasket, tape or rope around the glass to cushion it against the metal and maintain the correct seal. If the existing material is brittle, compressed, damaged or specified for replacement by the manufacturer, renew it while the glass is out.
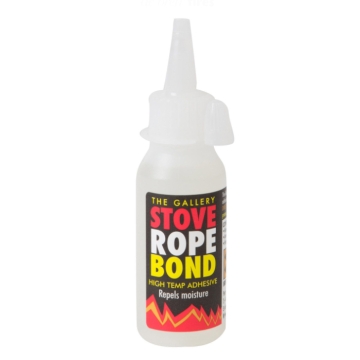
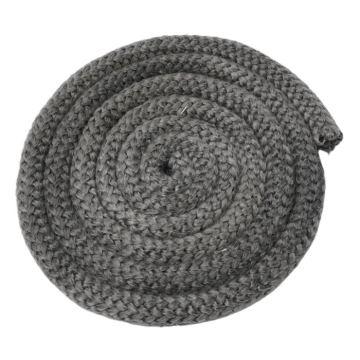
Use the correct diameter and type of heat-resistant stove rope or gasket for the appliance. A seal that is too thick, too thin or incorrectly positioned can prevent the glass from sitting properly. If an adhesive is required, use a product intended for high-temperature stove applications and follow its curing instructions.
Fit the gasket neatly without stretching it unnecessarily. Make sure joins and corners are positioned as the manufacturer specifies, then check that the glass sits evenly before the retaining clips are tightened.
Final checks and common mistakes to avoid
Before lighting the stove, check that the pane is sitting evenly, the retainers are secure without being excessively tight, and the gasket has not slipped or bunched up. Refit the door correctly if it was removed and make sure it opens and closes normally.
If you used gasket adhesive or another sealant, allow the recommended curing time before firing the appliance. When the stove is first used after the repair, keep an eye on the glass and door assembly as the stove warms up.
Common mistakes include ordering glass by approximate size instead of stove model, reusing a damaged or flattened gasket, forcing the pane into the door, losing the original clip arrangement, and overtightening the retainers. If the door, clips or frame are damaged, or the replacement does not fit naturally, stop and seek advice rather than modifying the glass or forcing the assembly together.
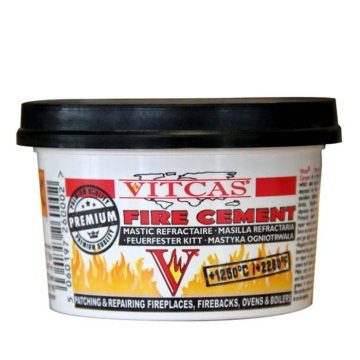
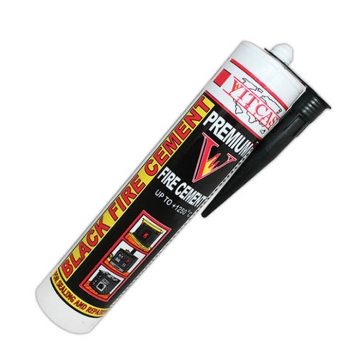
Replacing damaged glass is also a good opportunity to inspect the rest of the door and routine maintenance items. Browse our stove and fireplace accessories for replacement glass, stove rope, fire cement, gloves and other useful maintenance products.